Git, GitHub And Everything In Between
Git was developed by Linus Torvalds on 7th April 2005 while working on the Linux kernel. At that time, the Linux codebase had grown massively and was being developed by thousands of contributors across the world. Existing version control systems (VCS) were either too slow, not distributed, or relied on proprietary software, making them unsuitable for Linux’s development model.
Linus needed a system that could efficiently track changes, identify when and where bugs were introduced, and allow multiple developers to work independently. This requirement led to the creation of Git, a fast, distributed, and reliable version control system designed specifically to handle large-scale software development.
What is Git?
Git performs a simple but powerful task. It tracks changes in your codebase. It records what lines were added, modified, or deleted over time, allowing you to understand how your project evolved. Git is designed to work locally on your computer, maintaining a complete history of changes for your own codebase.
But that’s not all. As mentioned earlier, Git is a Version Control System, which means it keeps track of different versions of your files over time. These files can be of any type text, images, videos, or source code.
Imagine writing some code and then making a few changes to it. If you later decide that the older version was better or need to check when a bug was introduced, Git allows you to easily move back to a previous version of the file or the entire project. It is like time travel (for all my Sci-fi nerds out there)!!
Git vs GitHub
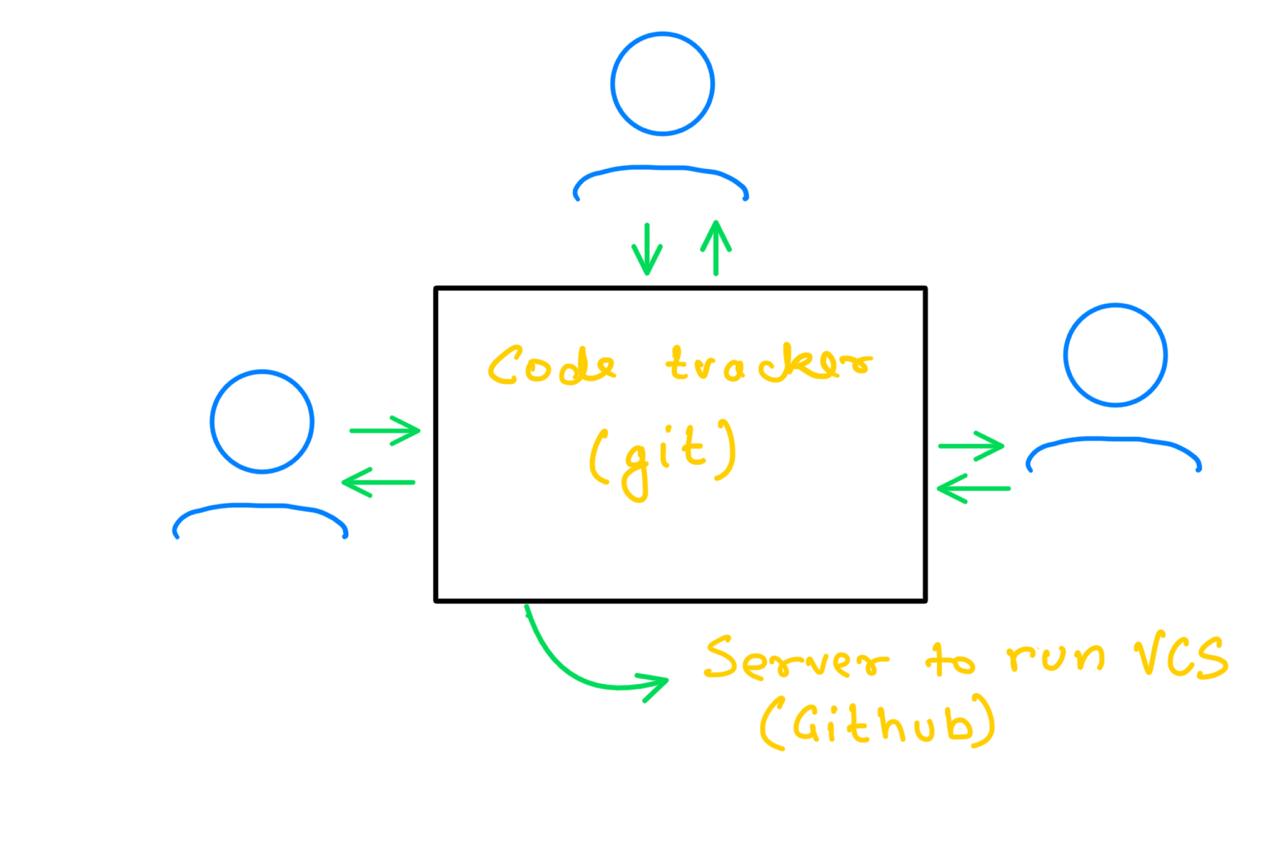
However, modern software is rarely built by a single developer. Imagine you and your friend working on the same project at the same time, each building different features on your own computers. As a result, both of you will have different versions of the same codebase stored on separate machines.
This is where GitHub comes into the picture. GitHub acts as a central remote repository where the shared project lives. Each developer uses Git locally to track their own changes and then pushes those changes to GitHub.
Git helps merge these changes into a single, consistent codebase while GitHub keeps everything synchronized, making collaboration easier, safer, and more organized.
Wanna Know Some Cool Git Jargons?
Now that we understand the difference between Git and GitHub, let’s look at some common Git terminologies. These terms will help you communicate effectively with other engineers and programmers while working on collaborative projects.
Repository (Repo)
A repository, often called a repo, is the main project folder managed by Git. It contains your source code, other files, and the complete history of all changes made to the project.
We’ll see how to turn any folder into a Git repository in the Git Commands section.Commit
A commit is like a snapshot of your project at a specific point in time. When you create a commit, you are essentially telling Git “Remember the changes I’ve made up to this point.” Commits allow you to move back and forth between different versions of your code. Each commit records important information such as:
What was changed
When it was changed
Who made the change
Staging Area
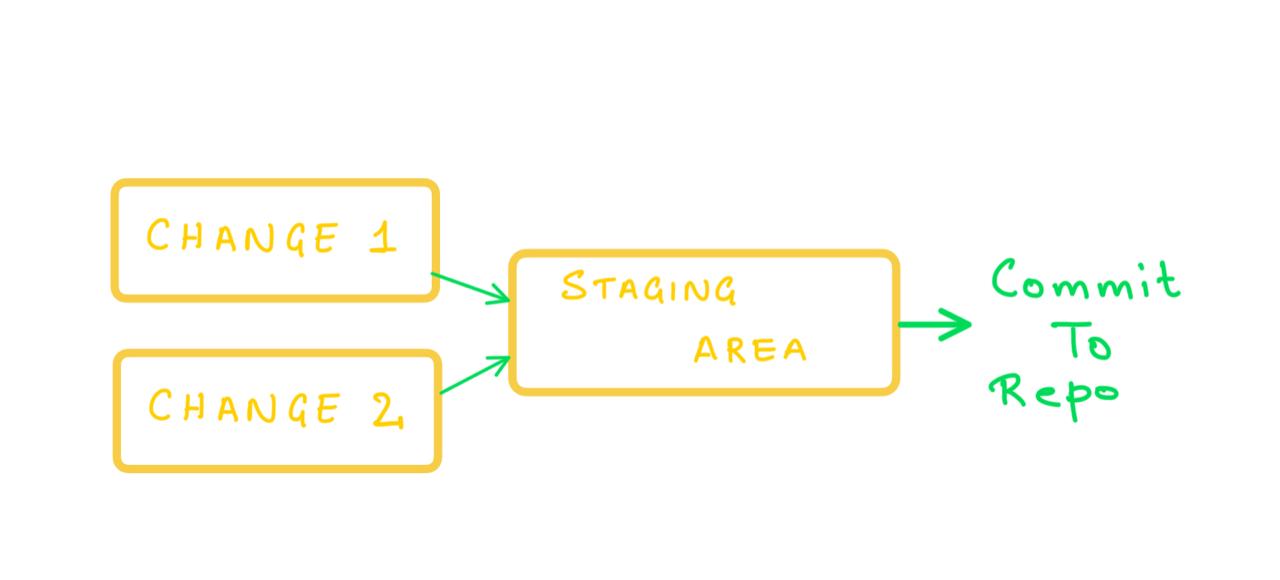
The staging area is where Git keeps track of changes that are ready to be committed. When you tell Git to “remember” a change, it is first added to the staging area. It allows you to review, adjust or remove changes before saving them to your local repo. Only the changes present in the staging area are included in the next commit. If a change is not staged, Git will ignore it during the commit process.
Branch
A branch is an independent line of development. It allows collaborating developers to work on features or codebases without affecting the working/live code.
Main Branch
The main branch is the primary branch of a repository where the tested and stable codebase lives. It usually contains production-ready code that can be deployed and used by end users.
While the main branch remains stable, new features and bug fixes are developed on separate branches and later merged into it, allowing the product to stay live without disrupting ongoing development.HEAD
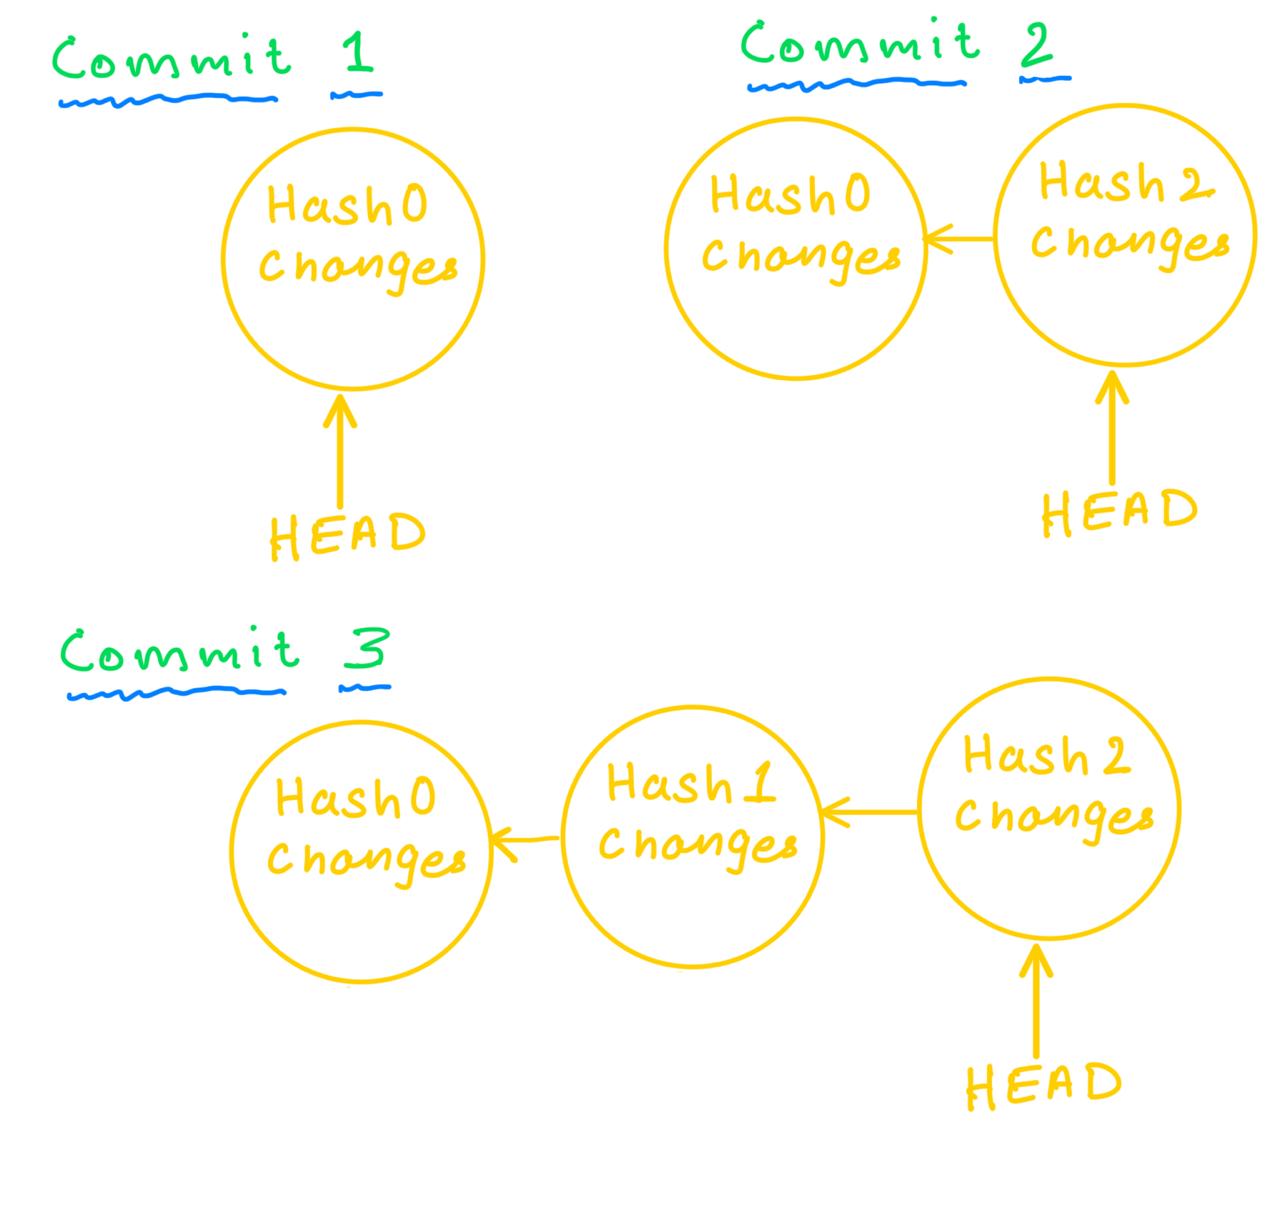
The HEAD pointer like a linked list keeps track of the latest commit on the current Branch. It is helpful to know on what branch you are working.
Merge
Merging is the process of combining changes from one branch into another. You can merge any two branches, it is not mandatory to merge only into the main branch. Typically, a feature branch is merged into the main branch after rigorous testing to ensure that the changes are stable and do not break the existing codebase.
Common Git Commands And Workflow
With the theory out of the way, it’s time to get hands-on. In this section, we’ll explore how Git is used in day-to-day software development. Start by installing Git on your system using this installation guide. After setup, we’ll dive into the essential Git commands that form the foundation of effective version control.
Create a working directory anywhere in your system and open any command line interface in there. You can use independent CLIs or the one’s that are present in your Code editor itself.
git innit
Git is used to track changes in your files, but it does not automatically monitor your entire system. Tracking everything would not only be inefficient but also a privacy concern. Instead, Git works only in directories where you explicitly enable it. This is where the git init command comes into play. It “initializes” a git repository.
When you run:
C:\Users\User0\Working_directory> git innit
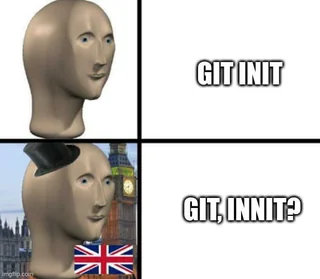
This tells Git “This is my working directory. Track and manage changes only inside this folder”. Since we are talking about git innit here a very famous coding meme that you can now understand.
Once you have your working directory setup you can then add any file, folder, image etc. that will now be tracked inside you Working Directory.
git status
Once you have created some new files or folders you can then use git status to check if Git detected the modifications and what changed.
C:\Users\User0\Working_directory> git status
As soon as you run this command Git will tell you some information:
Current Branch
Working Directory
Changes in Staging Area
Changes not yet in staging area
Untracked Files
git add
So far you have not told Git to keep the changes you did. To do this and move the changes to the staging area we use the command git add. This basically tells git “Keep these changes”. You need to specify the files you want to save using git add <filename>
C:\Users\User0\Working_directory> git add <filename>
But what if there area multiple files you want to add to the staging area. In that case git also provides variations for git add.
C:\Users\User0\Working_directory> git add --all

C:\Users\User0\Working_directory> git add -A
Both of these lines will add all the change in your entire project to the staging area at once.
C:\Users\User0\Working_directory> git add .
This command only add changes in your current directory and its subdirectories to the staging area.
This is a very critical difference between both the commands.
git commit
Till now we have moved our changes to the staging area. Now git commit will help us to save those commands from the staging area to the local repository. It tells git to confirm and save the changes permanently. Every commit only stores the changes and not the entire codebase again and again.
You can think of this workflow as a boss battle in a video game. Before you face the boss, you would want to gather all the resources that you think you need (this is like using git add). Once you have all the resources, you tinker with your inventory to keep useful things and remove any useless items that you may have (this is like the staging area). Then, with all your might, you plunge into the battle (this is what a git commit does).
git log
As you keep making commits, Git builds a history of your project over time using a Linked List type of Data Structure. To view this history, Git provides the git log command. Using git log, you can track how the project has evolved, understand when changes were introduced, and identify who made specific updates. It is especially useful when debugging issues or reviewing the development history of a project.
C:\Users\User0\Working_directory> git log
This command displays a list of commits made to the repository, starting from the most recent one. For each commit, Git shows important information such as:
A unique commit hash
The author of the commit
The date and time when the commit was made
The commit message
git revert
But what if you commit something that you did not want? Well git offers some cammands for exactly that scenario as well. git revert <commit-hash> adds a new commit that undoes the changes introduced by the specified commit. This does not delete the previous commit keeping the Branch safe for collaborative work.
C:\Users\User0\Working_directory> git revert <commit-hash>
git reset
“With great power there must also come great responsibility”. the git reset <commit-hash> has the power to move the current branch pointer (HEAD) to a previous commit. You need to be very careful when using git reset as it can loose the references of the commits after the spacified <commit-hash>.
C:\Users\User0\Working_directory> git reset <commit-hash>
git reset provides some modes that affect the working directory and staging area after reset. Some common modes are:
git reset —soft <commit-hash>: Moves HEAD but keeps changes in Staging Area.
git reset —mixed <commit-hash>: Moves HEAD and unstages changes
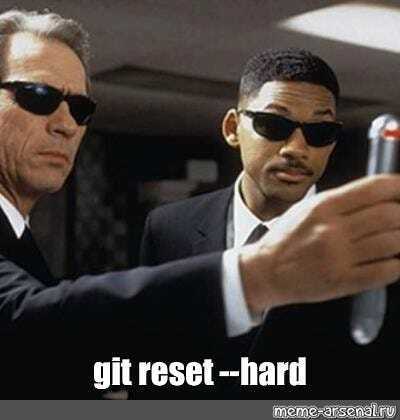
git reset —hard <commit-hash>: Moves HEAD and discards all the changes permanently
And with that you got yourself a new meme
git restore
What if you want to remove some change from the Staging Area? This is whre git retore comes in handy. It discards uncommitted changes in your working directory.
C:\Users\User0\Working_directory> git restore <file-name>
This commands restores the file to its previously committed state removing all local changes in the specified file.
C:\Users\User0\Working_directory> git restore .
This restores all files at once.
Conclusion
This blog walked through the “everyday” Git commands and explained how they work. It is intended to be helpful for budding developers who are just starting their journey with Git.
The goal of this blog was to spark the curiosity that every engineer should have. Instead of focusing only on commands, I tried to ask deeper questions like “Why do we need this?” and “How can we think about this in multiple ways?” essentially conveying the engineering mindset.
All the best, folks!